Create a curated catalog link
A Catalog Link lets a customer browse a store-picked slice of collections, categories, and products (with prices), then check out on the POS host — not the Checkout app used for classic customer links.
| Customer link | Catalog link | |
|---|---|---|
| Staff button | Create Link | Create Catalog Link |
| Public URL | {checkout-base}/{pos-slug}/{link-code} | {pos-origin}/{pos-slug}/catalog/{link-code} |
| Host (prod) | store.novaorder.in | pos.novaorder.in |
| Customer starts with | Fixed product list | Browse / cart / shipping / payment |
| After submit | Same link → Submitted | Catalog consumed; new Submitted customer link (Catalog tag); customer reopens catalog URL for order status |
See also Apps and URLs. Customer flow: Customer checkout · Status, chat, and approval.
Staff
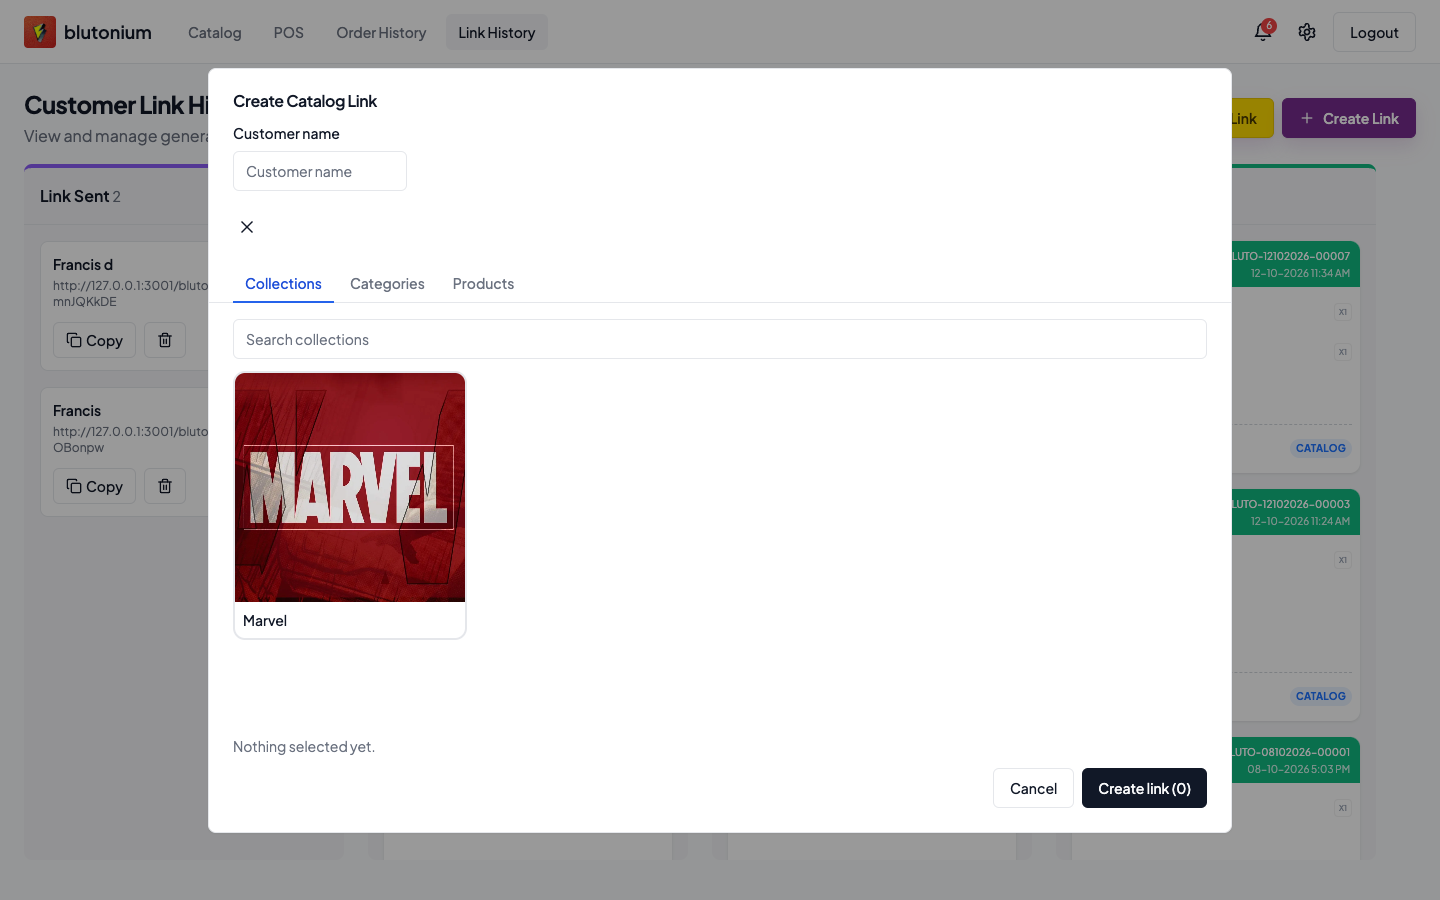
Create Catalog Link
- Unlock POS → Link History.
- Tap Create Catalog Link.
- Enter Customer name.
- Select items under tabs Collections, Categories, and/or Products (search supported). Set a Price for every selected item.
- Tap Create link (n) (shows Creating... while saving).
Validation requires a customer name, at least one selection, and a price for each selected collection, category, and product.
Success toast: Catalog link created. The card appears under Link Sent.
Share
On the Link Sent card:
- Copy the full catalog URL (Copy → toast Catalog link copied).
- Delete with the trash control when the link should no longer be used.
URL builder uses the current POS origin: /{pos-slug}/catalog/{link-code}.
After the customer orders
- The first successful submit marks the catalog link consumed and creates a Submitted customer link (Catalog source) for Add to Orders — Convert to order.
- A second submit returns HTTP 410 (This catalog link has already been used.).
- Re-opening the catalog URL while the order is live shows the customer order status page (chat / design approval) — not a permanent “already used” wall. Details: Status, chat, and approval.
Customer
- Open the catalog URL the shop sent (
…/{pos-slug}/catalog/{link-code}on the POS host). - Browse products, custom categories, and design collections; use Add to cart where shown.
- Continue through catalog checkout: shipping → summary → payment (UPI / bank / wallet screenshot), then Complete order — full steps in Customer checkout.
- Success shows Order placed successfully and an order ID. Re-open the same URL to track status, chat, and approve designs when asked.
This path stays inside the POS public catalog UI. Classic shared checkout steps live under Checkout.