Create a POS terminal
Admins create Point of Sale terminals in the Admin app. Each terminal gets a URL slug, a password for counter unlock, linked warehouses, optional pricing overrides, and a default service charge.
Requires an Admin account (adminOnly route). Production Admin: Apps and URLs.
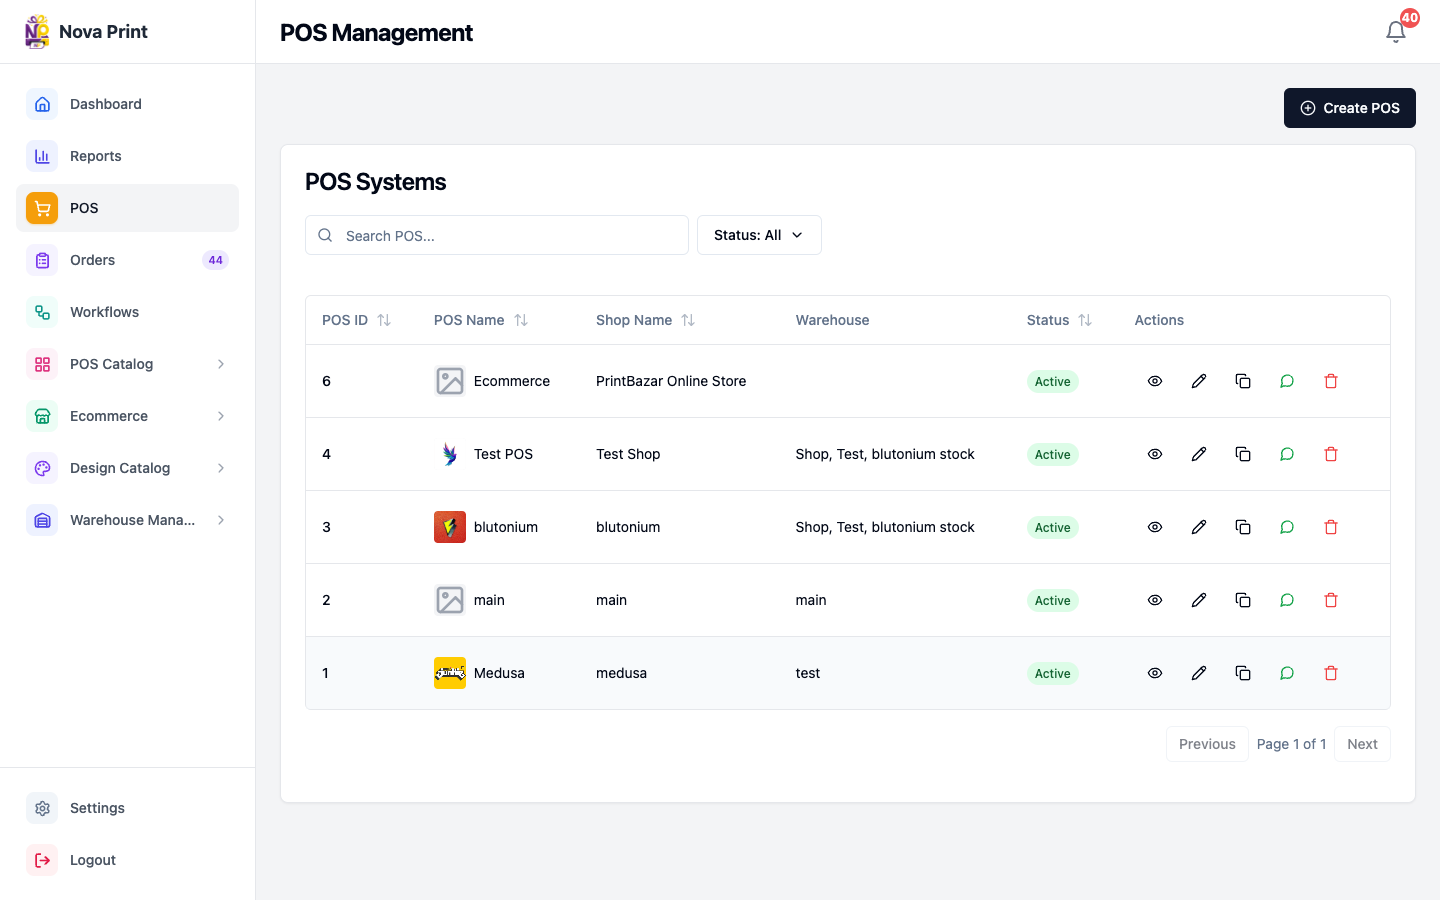
Open POS management
- Sign in to Admin.
- Open POS in the top nav (
/pos), or go to Settings → POS and open POS terminals (same/pospage). - Confirm the POS Systems table loads (search, status filter, pagination).
Create a terminal
- Click Create POS.
- Optional: Upload Logo (image file). You can remove it later with the × control.
- Fill required fields:
- POS Name (e.g. Main Counter) — used as the terminal name.
- Shop Name (e.g. Downtown Prints).
- Optional: Contact No.
- Set Default Service Charge (₹) (default shown in the form is
100.00). Cashiers can still add/adjust service charge on an order in POS. - Under Warehouses (required), select one or more warehouses. The save button stays disabled until at least one warehouse is selected.
- If the selected warehouses have pricing categories, fill Pricing Category Prices for categories you sell at this counter (products that use those categories will use these prices).
- Set Password (required on create). Use Generate and/or copy with the clipboard button. Share this password with counter staff — it is not an Admin username login.
- Optional: turn on Locked to prevent unlock until an admin edits the terminal again.
- Read the note: the POS locks automatically after 5 failed login attempts.
- Click Save POS.
After a successful create, POS Created Successfully shows the terminal URL. Copy it and click Done.
View, edit, share, delete
From the table Actions column:
- View — shop name, contact, warehouses, Active/Locked status, and POS URL (copy).
- Edit — same form as create. Password is optional; leave blank to keep the current password. You can toggle Locked.
- Copy URL — copies
/{slug}on the POS frontend base URL. - WhatsApp — opens a share message with the POS name and URL.
- Delete — confirm; deletion cannot be undone.
Filter the list by Status: All / Active / Locked. Search with Search POS....
UPI QR (not on the create form)
The Create/Edit POS dialog does not upload a UPI QR.
| QR purpose | Where to configure |
|---|---|
| Shown at in-store POS checkout (Complete Payment modal) | Admin Settings → Payment → UPI QR code |
| Shown on customer-link checkout for this terminal | POS app Settings → Payment QR — see Settings UPI QR |
Next steps
- Give staff the POS URL and terminal password — Login and navigation.
- Place a test order — Create an in-store order.