Categories and properties
Set up product organization and reusable attributes before you create products. Stock role (and admins) use Warehouse Management in Admin.
Recommended order: pricing categories → product categories → property keys → property values → products.
Who and where
- Roles: Stock, Admin
- Routes:
/warehouse/categories,/warehouse/properties - Nav: Warehouse Management → Categories / Properties
Related: Create a product, Roles overview.
1. Open Categories
- Sign in to Admin.
- Open Warehouse Management → Categories (
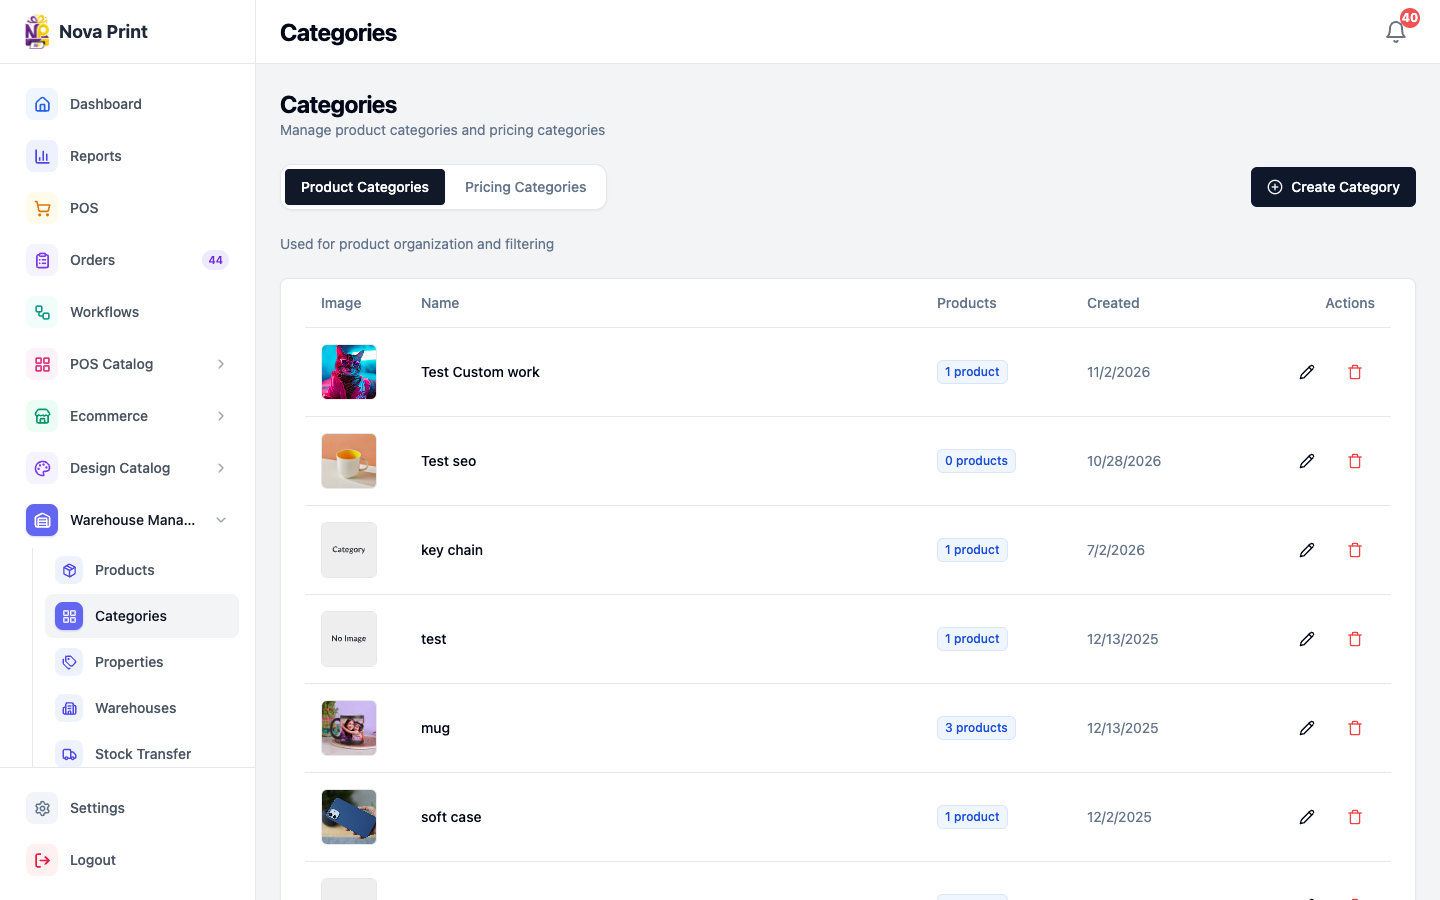
/warehouse/categories). - Confirm the page title Categories and two tabs: Product Categories and Pricing Categories.
2. Create a pricing category
Pricing categories are used for POS pricing rules (name only).
- Select the Pricing Categories tab.
- Click Create Pricing Category.
- Enter **Name *** (required).
- Click Create Pricing Category.
- Confirm the row appears (columns: Name, Products, Created, Actions).
To edit later: pencil on the row → change Name → Save Changes.
3. Create a product category
Product categories organize and filter products. Each needs a name and image.
- Select the Product Categories tab.
- Click Create Category.
- Add **Category Image *** — paste an Image URL or link, or use Upload from Computer.
- Enter **Category Name ***.
- Click Create Category (enabled only when name and image are set).
- Confirm the row shows Image, Name, Products count, Created, Actions.
To edit: pencil → Edit Category → Save Changes.
Delete a category
- Use the delete action on the row.
- Confirm in Confirm Deletion.
- If products are linked, the API blocks delete — remove or reassign those products first. The UI shows a product count warning when relevant.
4. Open Product Properties
- Open Warehouse Management → Properties (
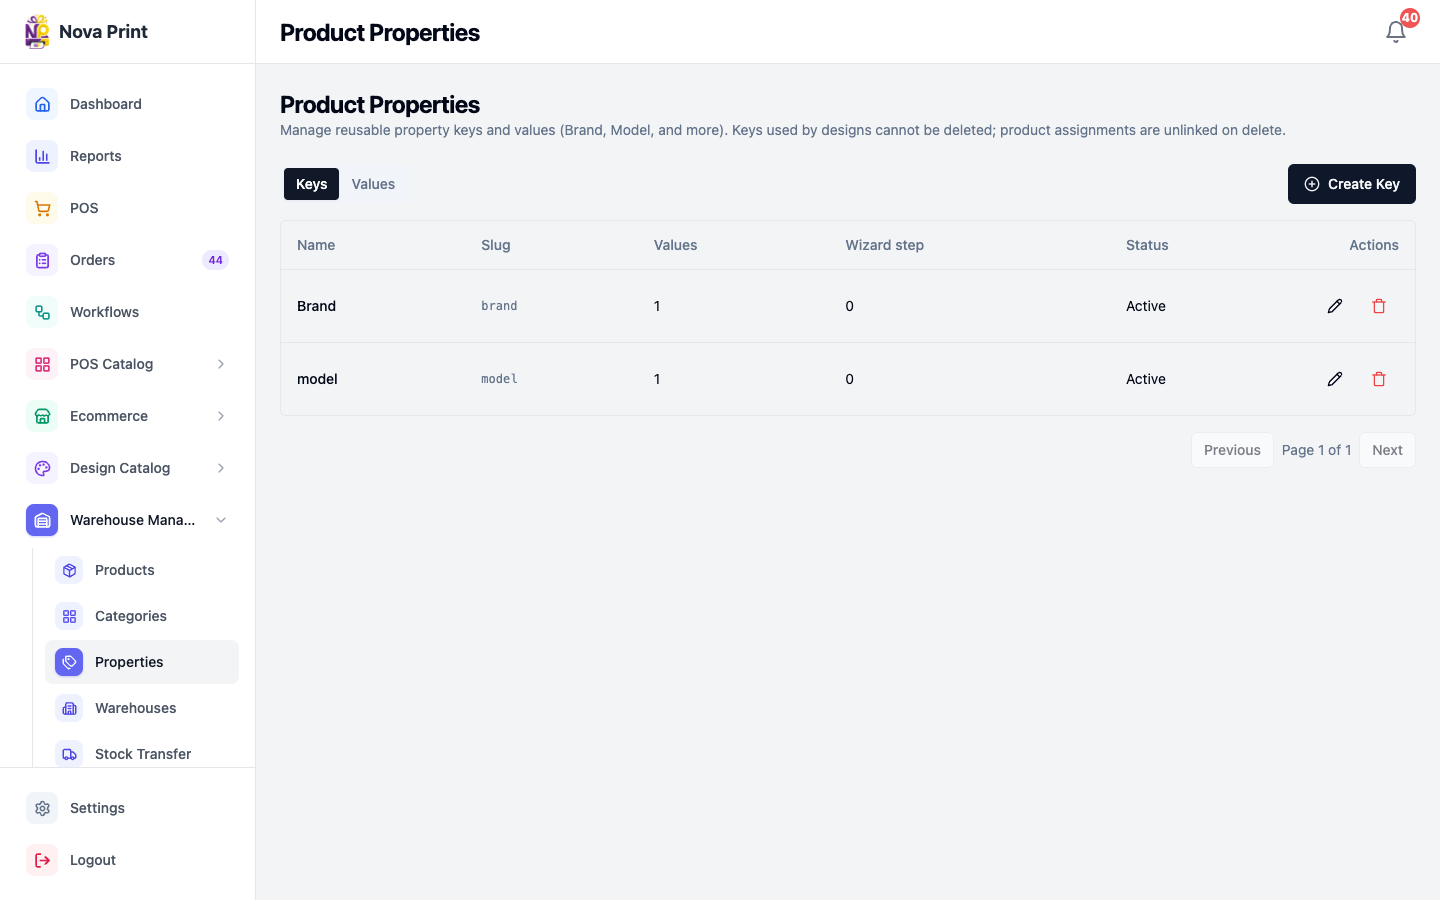
/warehouse/properties). - Confirm Product Properties with tabs Keys and Values.
Property keys are attributes such as Brand or Model. Values belong to a key. Design compatibility rules can block deleting a key/value that is still referenced.
5. Create a property key
- On the Keys tab, click Create Key.
- Enter Name (placeholder example: Brand).
- Optionally set Wizard step order (0 = first) — used by the POS design property wizard.
- Leave Active on unless you want the key hidden from new use.
- Click Create Key.
- Confirm the table shows Name, Slug, Values, Wizard step, Status, Actions.
Edit with pencil → Save Changes. Toggle Active off to retire a key without deleting it.
6. Create property values
- Switch to the Values tab.
- Optionally Filter by key to one key.
- Click Create Value.
- In Add Value to {Key} (or pick the key in the dialog — Verify in UI if the dialog requires selecting a key first):
- Enter Name.
- Optionally set Sort order.
- Leave Active on.
- Click Create Value.
- Confirm columns: Name, Key, Slug, Sort, Status, Actions.
7. How properties attach to products
You do not assign properties on this page. On product create/edit (/warehouse/products):
- Open Create Product or edit a product.
- In Properties, click Add.
- Choose a Key and Value per row (one value per key per product).
- Reorder rows with ↑↓ if wizard order matters.
- Save the product.
See Create a product.
Checklist
- At least one pricing category exists for POS-priced goods.
- Product categories have names and images.
- Property keys/values cover attributes used for design matching (for example model).
- Staff know deletes may be blocked when products or design rules still reference the item.